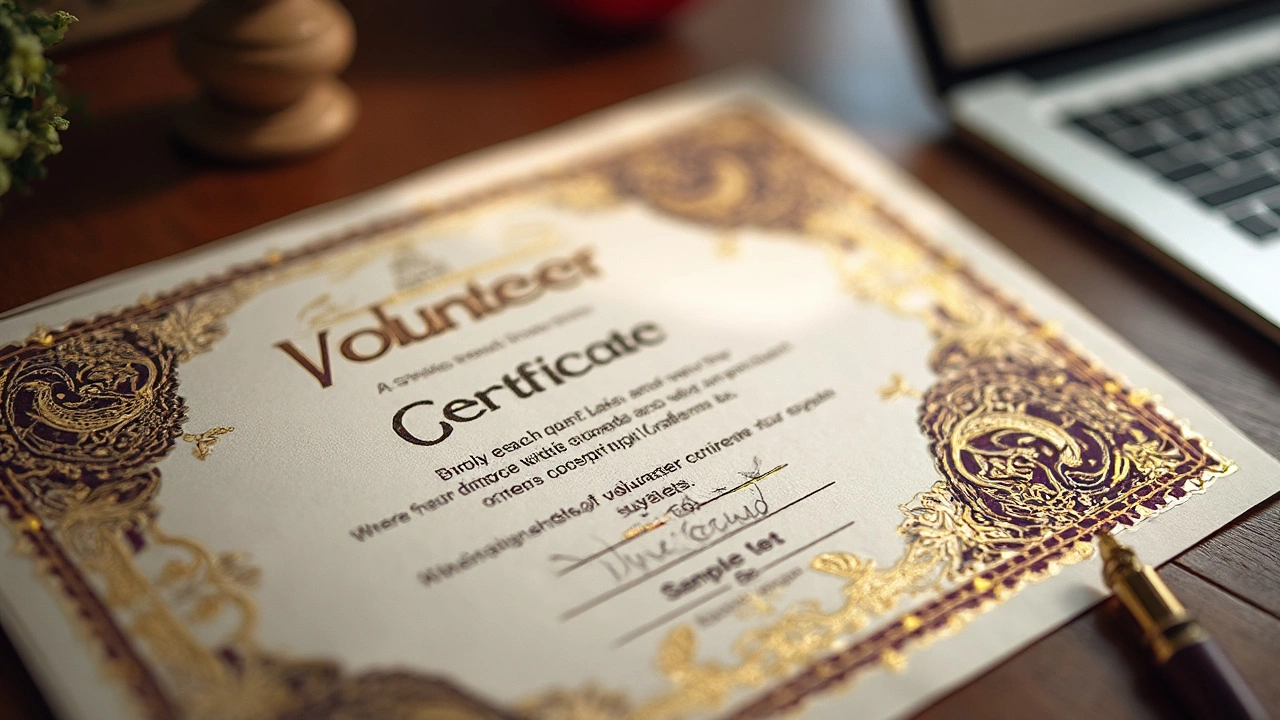
How to Make a Volunteer Certificate: Simple Steps for Standout Recognition
 Apr, 22 2025
If you've ever tried to thank volunteers with just a handshake or a speech, you know it doesn't always stick. A certificate changes the game—it gives real proof of their hard work and something they can keep or put on a wall. People don’t just want the warm fuzzy feeling; a good certificate can make a difference for job applications, resumes, and even school credits.
You don’t have to start with a blank page. Tons of free online templates exist for volunteer certificates. But before you jump into Google, remember that a basic template is just a start. You’ll want to add in some personality—something that matches your organization and feels special to the person receiving it.
So, if you’ve never made a certificate before, or your last one was a snoozefest, keep reading. I’ll break down the must-have details, share shortcuts on design, and give you easy wording formulas. You’ll have everything you need to create a certificate people actually care about.
- What Every Volunteer Certificate Needs
- Easy Design Tips Anyone Can Use
- Perfect Wording: Say It Right
- Printing and Sharing Your Certificates
What Every Volunteer Certificate Needs
Too many folks overcomplicate the basics when they put together a volunteer certificate. You don’t need a graphic design degree, but you do need to cover certain must-haves so everyone takes it seriously—schools, employers, and of course, the volunteers themselves. Miss any of these, and you risk your certificate ending up in a junk drawer or—even worse—getting dismissed by HR.
Here’s the checklist every useful volunteer certificate should hit:
- Title: Make it clear. "Volunteer Certificate" or "Certificate of Appreciation" both work. No mystery here.
- Recipient’s Name: Triple-check this. If you mess up the spelling, the whole thing loses its meaning.
- Description of Contribution: Add a short line about what the person did. For example: "in recognition of 40 hours dedicated to the 2025 Beach Cleanup."
- Date: Put the date given, not when the volunteering happened. This is the official record.
- Organization’s Name and Logo: Adds credibility so that anyone looking at the certificate knows it's legit.
- Signature: This can be electronic or handwritten, but it needs to feel official—like it actually came from you, not a robot.
The National Council for Voluntary Organisations nailed it with this advice:
“Certificates don’t just acknowledge effort—they offer a tangible reward that demonstrates value and makes it easier for volunteers to talk about their experiences outside of your organisation.”
Need more convincing? Check out what people actually expect from their certificates:
| Element | % of Volunteers Who Value It |
|---|---|
| Recipient’s Name | 99% |
| Specific Contribution Description | 94% |
| Official Signature | 91% |
| Organization Logo | 89% |
Bottom line: don’t just slap a name onto a sheet and call it a day. Hit these basics, and your volunteer certificate will actually matter to the people who receive it—and to anyone else who sees it later.
Easy Design Tips Anyone Can Use
Designing a standout volunteer certificate doesn’t mean you need fancy software or graphic design skills. Most folks use PowerPoint, Google Docs, or free tools like Canva or Adobe Express. According to a 2024 CharityDigital survey, over 70% of nonprofits make their certificates in-house using these types of user-friendly programs.
If you want your volunteer certificate to look sharp and not like an old homework assignment, focus on these design basics:
- Keep it clean: Don’t overload the page with too much text or graphics. White space is your friend—it looks professional and draws attention to what matters.
- Pick readable fonts: Classic choices like Arial, Times New Roman, or Calibri work for most organizations. Use something a touch fancier only for the name or main title.
- Use your colors: Match the colors in your certificate to your organization’s logo or theme. This little touch helps your certificate look official.
- Add your logo: Throw your organization’s logo at the top or bottom corner. It’s a mark of authenticity—it shows this isn’t just a random printout.
- Size matters: Standard size is 8.5 x 11 inches (letter size in the U.S). This fits regular frames, so people can display it easily.
If you’re stuck, check out certificate templates on Canva or Microsoft templates. Swap in your info and tweak the colors. It’s that simple.
"A certificate is as much about design as it is about the words. People remember things that feel polished—and that starts with good layout, not fancy features." – Sarah K. Jacobs, Nonprofit Design Specialist
If you’re printing in bulk, matte paper works best. It doesn’t smudge if someone signs with a pen, and it’s not too shiny for photos. If you’re sending digital copies, choose PDF format—they look the same on any device and can’t be easily edited.
| Design Element | Best Practice |
|---|---|
| Font size | 18–36 pt for names/titles, 12–14 pt for details |
| Image resolution | 300 DPI for print |
| Color count | 2–3 main colors max |
When in doubt, less is more. Focus on what makes your volunteer certificate easy to read and instantly recognizable. If someone feels proud to show it off, you’ve nailed the design.
Perfect Wording: Say It Right
The words you pick for a volunteer certificate can turn it from a boring printable into something people really want to keep. You don’t need to sound fancy, but you do need to be to the point, honest, and specific. A certificate that says “Thanks for helping” won’t stand out, but mentioning what the person did and why it was important actually makes a difference. People want to feel seen.
There are some key things every good certificate should cover:
- The name of the volunteer—spelled right, no excuses.
- The event or program where they helped, like ”Spring 2025 Food Drive.”
- Dates of service or the specific day they volunteered.
- A short, personal line about what they did well (“For outstanding dedication checking-in guests at registration”).
- The name of your group or organization.
- The date the certificate is awarded.
- A real signature or, if it’s digital, the name and title of the person giving the award.
Here’s a basic formula that keeps things simple and hits all the targets:
- This Certificate of Appreciation is presented to [Volunteer Name] for [specific contribution] during [Event/Program Name or dates].
Want it to feel more meaningful? Drop in a personal line right under that—something like, “Your commitment made a real impact for families in our neighborhood.”
Here’s a quick example built from those steps:
- This Certificate of Appreciation is presented to Maria Lopez for her enthusiastic help organizing food boxes for the April 2025 Food Pantry Drive. Your organizing skills and positive spirit helped us feed over 200 local families. Awarded by Downtown Community Helpers on April 15, 2025.
Getting specific is what sets your volunteer certificate apart. A study from Points of Light found that 65% of volunteers said personal, specific recognition made them more likely to volunteer again.
| Element | Why It Matters |
|---|---|
| Volunteer’s Name | Personalizes the certification |
| Contribution Details | Shows you noticed what they actually did |
| Program/Event Name | Gives context |
| Date | Proof for resumes and applications |
| Signature | Authenticates the certificate |
Don’t forget to proofread. A typo in a name or the wrong date can make your good intentions look careless. Treat this like something you’d want to get yourself—not a checkbox to tick off.
Printing and Sharing Your Certificates
Once you've finished designing a volunteer certificate, you need to think about how you're actually going to hand it out. This step matters more than you might think—sharing a certificate the right way can make volunteers feel much more appreciated.
If you want something physical, use thicker paper like certificate or presentation stock—usually around 80-100 lb. Most office supply stores have small packs, and it works better than regular printer paper that flops around. Color printers add a nice touch, but even black-and-white looks pretty sharp on the right paper. For a really professional look, consider using a local print shop. They can add things like embossed stamps or foil seals, which feel legit and are great for special events or big awards.
Don’t forget about digital. A lot of volunteers want their volunteer certificate sent as a PDF for resumes, college apps, or LinkedIn. To save it as a PDF, just use the "Print" menu and select "Save as PDF." If you’re making lots of certificates, mail merge tools in Word or Google Docs speed things up—you can send out fifty personalized certificates in minutes instead of hours.
- Email certificates directly to volunteers so they save or print them as needed.
- If you’re a bigger organization, consider adding a digital badge link or QR code right on the certificate.
- For public recognition, post a shoutout on your social media and tag the volunteer (with their permission, of course).
Here’s a simple breakdown of what volunteers might prefer, based on a 2024 survey by VolunteerMatch:
| Certificate Format | Percent of Volunteers* |
|---|---|
| Printed and Handed Out | 55% |
| PDF Sent by Email | 72% |
| Digital Badge/QRCode | 38% |
*Volunteers could select more than one preference
When you use these approaches—solid paper, digital extras, and personalized delivery—what you end up with isn’t just a volunteer certificate, but a memory. Make sure you keep versions saved in your organization’s files, too. You’ll thank yourself the next time you need to prove hours or remake a lost certificate down the road.